Showing posts with label cloche. Show all posts

Sunday, August 23, 2020

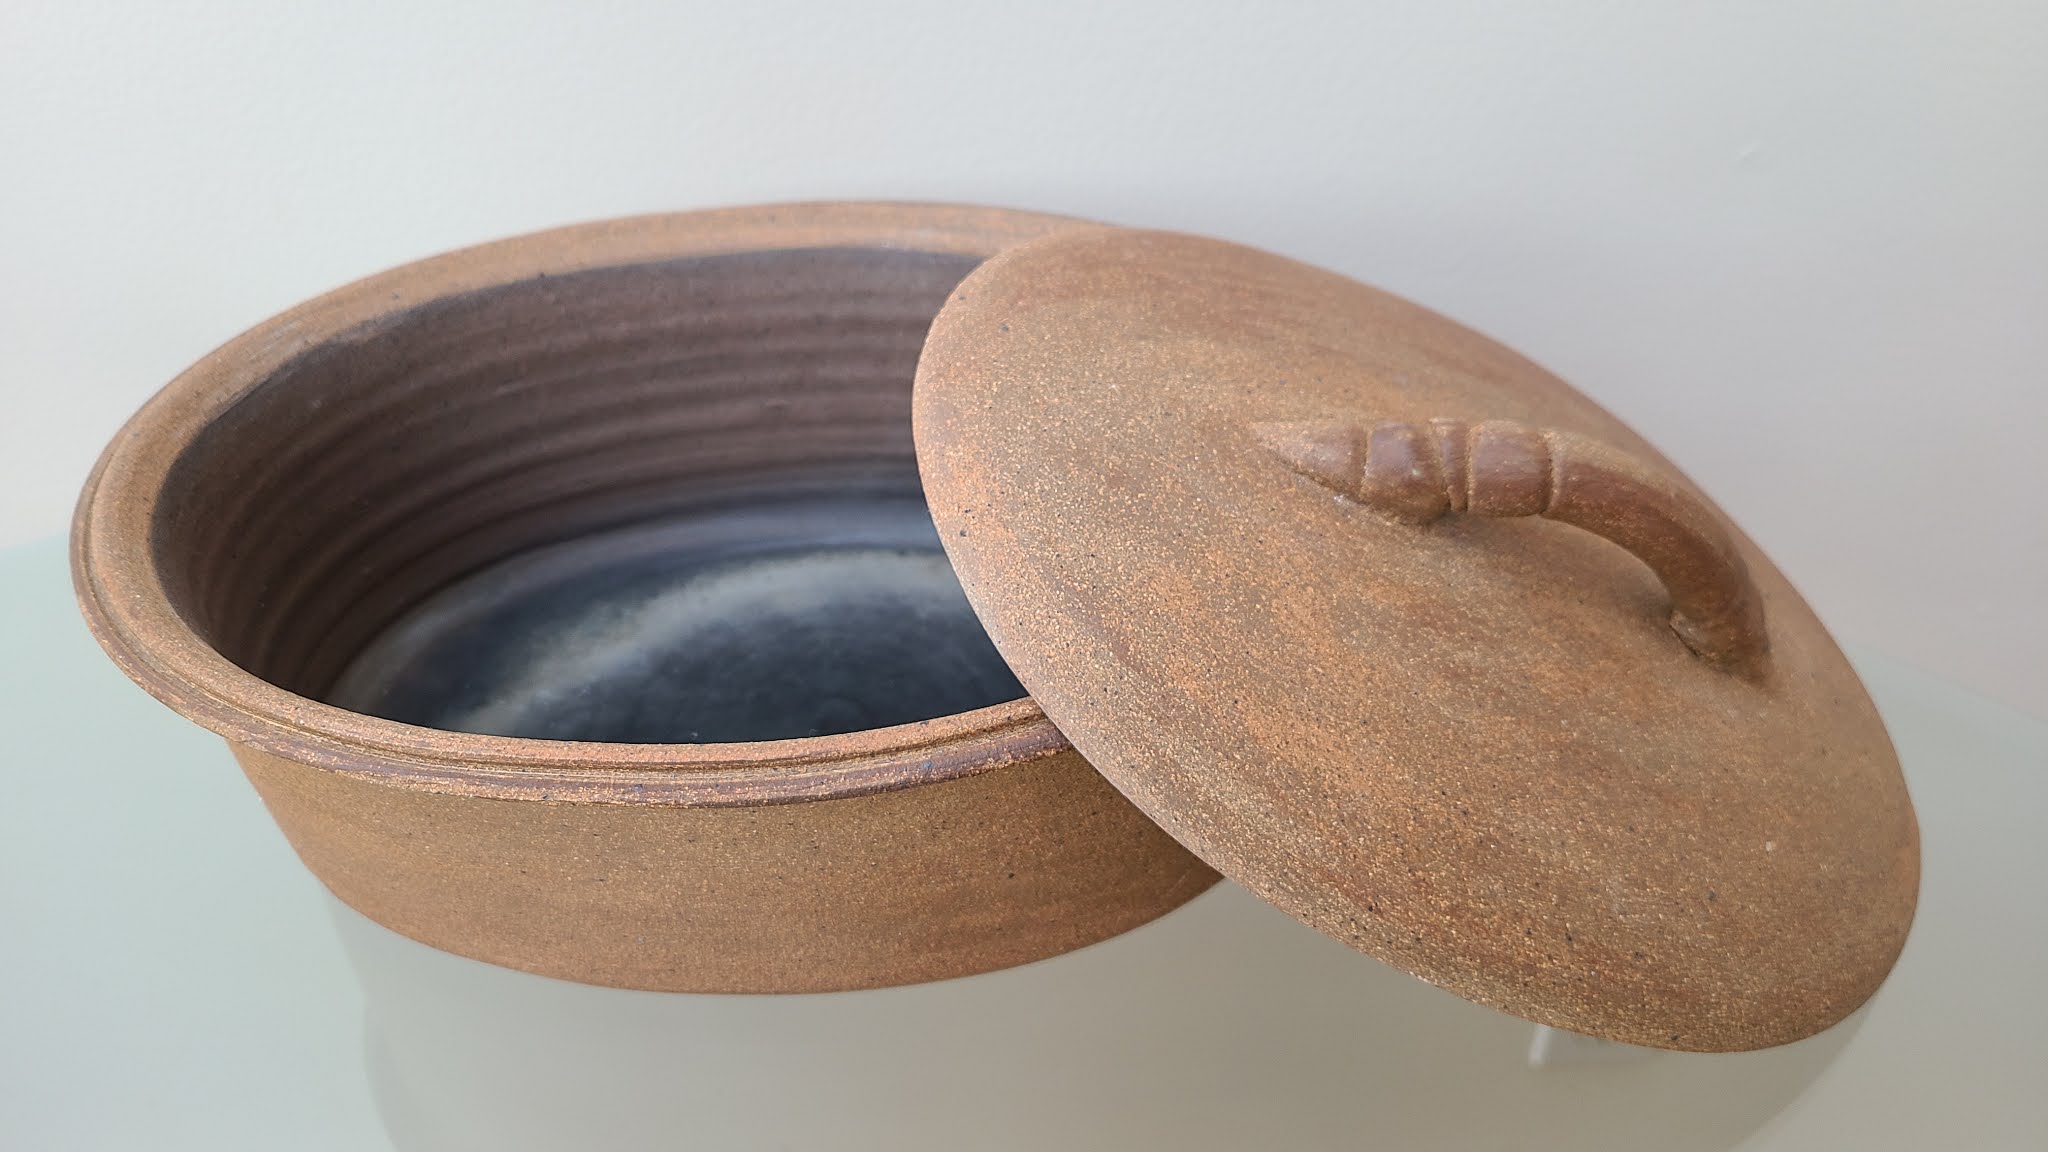
New Oversize Large and Extra Large BreadPots, BreadBells and a BatardPot

I have had some requests for larger volume BreadPots. Here they are. 
Two BreadBells with blue glaze one bottom part. One has a decorative brush line. Both are the same size, about 9 cups volume. 50% larger than the regular BreadPots, which hold about 6 cups.


With this volume there is also a large regular shaped BreadPot, no glaze, here:

I also made one that is a hybrid BreadPot, deep dish, glazed blue, bell lid. It is about 2x the size of the  regular BreadPot. 


This image shows the size relationship between the new large and this extra large ones:


And a singular oval Batard Pot, special request. This one is sold.


Tuesday, October 4, 2011

BreadBellz

8"h x 9-10 square base
I have the one on the left remaining and another in the works. If you want a cloche, send an email.

Wednesday, June 22, 2011

New BreadPots

It has been busy in the studio with a gaggle of projects going at once. New BreadPots are in the works and will be ready in a couple of weeks. I have two new cloches made of a dark chocolate brown clay. BreadBellz. There have been orders for custom inscribed wedding present BreadPots. Nice. What a good gift for a wedding!

Wednesday, April 27, 2011

the base returns

some weeks ago, the cloche's base self-destructed in the middle of a baking cycle.  i brought the pieces to judy who, after much research, produced a New and Improved base.
for the new base's first flight, a very multi-grain bread: white wheat, whole wheat, rye, rough rye, pearl barley, and bulghur, to be exact. it has a nice crust, a really, really great crumb, awesome flavour, though less oven spring than a less whole-grain-y bread. having toyed briefly with breads requiring minimal intervention and few bowls, i am now all the way at the other end of the spectrum. here is the bread:


this formula involves 2 small bowls, 1 large bowl, no kneading, and

  • 520g all-purpose unbleached white flour
  • 72g rye and rough rye flour
  • 30g whole wheat pastry flour
  • 100g mix of pearl barley and bulghur, about half each
  • 360g water
  • 216g 100% hydration starter
  • 14g salt
you will have a baked loaf about 6 hours after when you begin mixing the final dough (but you may also retard the dough after shaping. so far, up to 12 hours has worked for me). 


8-12 hours before mixing final dough
  • make your 100% hydration starter by mixing equal masses of flour and water with a bit of your sourdough starter and leaving at room temperature until the whole begins to bubble. i do this in a 4qt glass bowl with a cover.
  • saturate the rye and whole wheat flours with 180g of cool water (the other 180g goes into the final dough); store in a covered bowl.
  • saturate the 100g mixed grains with water to cover, and then a bit more. no need to measure this water, as you will drain it completely later.

making the final dough
  • drain the 100g mixed grains in a sieve and press out as much free water as possible. i measure and use this water as part of the 180g of water in the final dough.
  • combine the 216g starter, 520g A/P flour, 180g water (slightly warmed; part of this was drained out of the grains), and the water/rye/whole wheat mixture, then mix thoroughly. i use a big spoon for this. leave to sit for 30-60 minutes.
  • after 30-60 minutes, sprinkle 14g salt over the dough and mix salt in thoroughly. the dough will be too wet to knead easily, so i stick with the big spoon.  
  • cover again and leave to bulk ferment at room temperature (should be about 72F). fold every 45 minutes for 2.5 hours.
pre-shape, rest 20 minutes, final shape, then proof (covered) for another 2 hours (or, better yet, do one of the proofing tests). i bake at 450F, with steam for 8 minutes, then without steam for 21 minutes.

i have also had good results from retarding the shaped loaves for anywhere from 8-12 hours before baking.

[another guest post from vt]

Sunday, March 27, 2011

rye

the cloche slays it again. after various experiments with long-retardation, i began to fool around with rough-milled rye and increasing the amount of starter in the dough (this is a formula from peter reinhardt, by way of wildyeast). this accelerates the first fermentation ("bulk fermentation") of the dough so that you could, if you wanted, have fresh bread in about 6 hours.

rye makes dough sticky beyond belief and appears to become workable by hand only after lots and lots of retardation in a nice cold refrigerator. i followed instructions for time and temperature (which did not include a long cold period), so did not benefit. if you choose to knead a rye-heavy dough by hand, here are some discoveries i have made.
  1. dough on fingers dissolves most readily in warm water. hot water, apart from being uncomfortable, also cooks the dough onto you. 
  2. answering the phone while kneading is not recommended.
  3. wood toothpicks are best for getting dough out of the spaces between cellphone keys.
  4. folding the dough is easier and more effective than kneading it. 
as a test, i split the dough into two batches of equal mass, one baked with the cloche and the other on a pizza stone with a steel mixing bowl over the top. the loaf you see below is from the cloche: mildly sour, lots of rye flavour, incredible oven spring, great crisp, caramelised crust, tender crumb with great aeration. 


this competent but much less delightful loaf is from the stone. still decent oven spring, nice-ish crust caramelisation, but the final rise in the oven was not as uniform, and the crumb is not as well aerated (no crumb shot though, sorry!):


[vt, yet again]

Sunday, November 28, 2010

Cloche for ciabatta


I had a request for a BreadPot today from Barry who makes ciabatta. It has me thinking about the BreadBell cloche again. I have one small ($78) and one large ($150) now. The large one is like the one our Vaughan (vt) has been using and blogging about. Maybe Barry will post a comment with his ciabatta recipe...
 
 BreadBell 8" 1 1/2 lb bread SOLD

Large BreadBell SOLD

Here is the ciabatta recipe from Barry's blog
Sponge
1/8 tsp active dry yeast
2  tbsp warm water (105-115 deg F)
1/3  cup room-temp water
1  cup bread flour

Step 1.  Stir together warm water and yeast.  Let it stand for 5 minutes.  Transfer yeast mixture to another bowl, add room-temp water and flour.  Stir for at least 4 minutes until fully combined.  Cover bowl with plastic wrap and let it stand at room temperature for at least 12 hours and up to 1 day,

Bread
1/2 tsp active dry yeast
2  tbsp warm milk (105-115 deg F)
2/3  cup room-temp water
1  tbsp olive oil
2  cups bread flour
1 1/2 tsp salt

Step 2.  Mix yeast and milk in small bowl and let stand 5 minutes.  Oil another bowl with olive oil.  In bowl of standing mixer, using dough hook, blend together milk mixture, sponge, oil, and flour on lowest speed until flour is moistened.

Beat for approximately 3 minutes.  Add salt and beat for approximately 3 more minutes.  Scrape dough into oiled bowl and cover tightly with plastic wrap.  Let it set until doubled, at least 1.5 hours.

Step 3.  Cut two pieces of parchment paper, approx 12 x 6 inches.  Place on baking sheet and flour well.  Turn dough out onto a well floured surface and cut in half.  Transfer each half to paper and form irregular ovals approx 9 inches long.  Dust with flour.  Cover with dampened kitchen towel and let rise 1 1/2 to 2 hours, until almost doubled.

Step 4.  At least 45 minutes before baking bread, preheat pizza stone on lower oven rack position at 425 F.   Just before baking, score the tops of the loaf with a sharp knife.  Optionally, lightly sprinkle with coarse kosher or sea salt.

Transfer loafs, on the parchment paper, onto the stone and bake for 20 minutes or until pale golden-brown.  Remove to cooling racks.  Let rest for 30 minutes or so to allow the crust to cure.

Note that this recipe sounds a lot more difficult than it is.  There are only four steps and each one is easy.  It is also very forgiving.  You can use all-purpose flour if you don’t have bread flour.  Or you can mix flours.  Results will vary in taste and texture, but it works.  Also, if your personal schedule dictates, after completing Step 2, you can store the dough in the refrigerator and go to work (or whatever).  It will rise more slowly in the fridge, which is fine…just try to let it rise to about twice the size you started out with, probably 6-8 hours.

Thursday, November 4, 2010

no-knead, shaped bread, in the cloche

up until a few months ago, i was making bread with an involved 8-step process. good results, but sort of a pain too. i started experimenting with the no-knead, long-retarded bread formulas. below, you see photographic evidence of progress. 2 steps, no kneading, great crumb, great crust. the cloche, you will see below, continues to knock it out of the park.

full details and formulation coming soon. stay tuned.